
The Ilford Film Box Pinhole Camera

Published on 28 April 2020
Since 2001, the last Sunday of April marks International Pinhole Day. I had no idea of this until this past Sunday which happened to be the last Sunday of April. Never having tried pinhole photography I though “what the heck” and went ahead and built a pinhole camera.
For a few months I have had an empty box of Ilford XP2 Super sitting on my desk begging me to find a use for it. Since a camera is just a light-tight box holding the film, it struck me that it would be pretty cool to turn this box into a camera. Being the photographer that I am I rigged my Nikon FM3A fitted with the superb Nikon Micro-NIKKOR 55mm f/2.8 AI-s on a tripod next to my desk and shot a few frames during the process, The film was, you guessed it, Ilford XP2 Super which I souped in Kodak’s HC-110 dilution B for 5,5 minutes at 21C.
You’ll need the following:
An empty box, ideally one like that in the photos below
A Hasselblad or another film magazine of similar size
Black duct tape or black water colour
Scissors and knife
Something with which to make a very small hole
Ruler
Aluminium foil
Tin can
How to do it (click on the images for larger versions)


The final creation, ready for pinhole fun!
A few thoughts
The Pinhole
A search in the Wikipedia reveals that there is a formula for calculating the optimal diameter of the hole:

In this formula d is the pinhole diameter, f is the focal length (i,e, the pinhole to image plane distance) and λ is the wavelength of light. The Wikipedia also says that “for standard black-and-white film, a wavelength of light corresponding to yellow-green (550nm) should yield optimum results. For a pinhole-to-film distance of 1 inch (25 mm), this works out to a pinhole 0.236 mm in diameter. For 5 cm, the appropriate diameter is 0.332 mm.”
That all sounds great, but how does one go about creating a pinhole that is precisely 0,2 or 0,3mm, let alone measure that the hole created is that exact size? Not easily done. If one has a digital camera handy one can make a few different holes and see which gives the sharpest image. Or if one prefers to embrace the whimsical side of pinhole photography, one can opt for the wild-stab-in-the-dark method of camera manufacturing and just chance it.
F/stop and exposure
There is a really fascinating site called mrpinhole.com with a lot of information, including an exposure calculator. In order to use it one needs to know the pinhole’s f/stop. The f/stop is calculated by dividing the pinhole to imaging plane distance by the diameter of the pinhole (both in millimetres). As an example, a 50mm distance divided by a 0,3mm pinhole results in f/166.
Mr Pinhole has a handy exposure calculator to calculate an exposure chart. Just take a reading using another camera or a light meter app on the phone set to the ISO of the film in the pinhole camera and to f/2.8, f/8, f/16 or f/64, and then find the correct line in the chart. Since exposures quickly become quite long reciprocity failure may come into play. It is a good idea, therefore, to check the information sheet of the film you are using to obtain the correct exposure time.
The film magazine
I used a Hasselblad A-12 film magazine which will not allow winding the film using the crank. There is a gear which prevents this. I believe it should be possible to create a hook to operate the gear and override, but I didn’t try that. Instead I removed the magazine after each image, attached it to my Hasselblad (which I had previously fired) and wound the film. It is very easy to remove and re-attach the duct tape.
It would have been more convenient to use one of the old Hasselblad 12 magazines (the kind with the peek hole in the back). It should be possible to advance the film using the crank on those. The only hitch is to figure out how many turns to turn the crank to wind one frame.
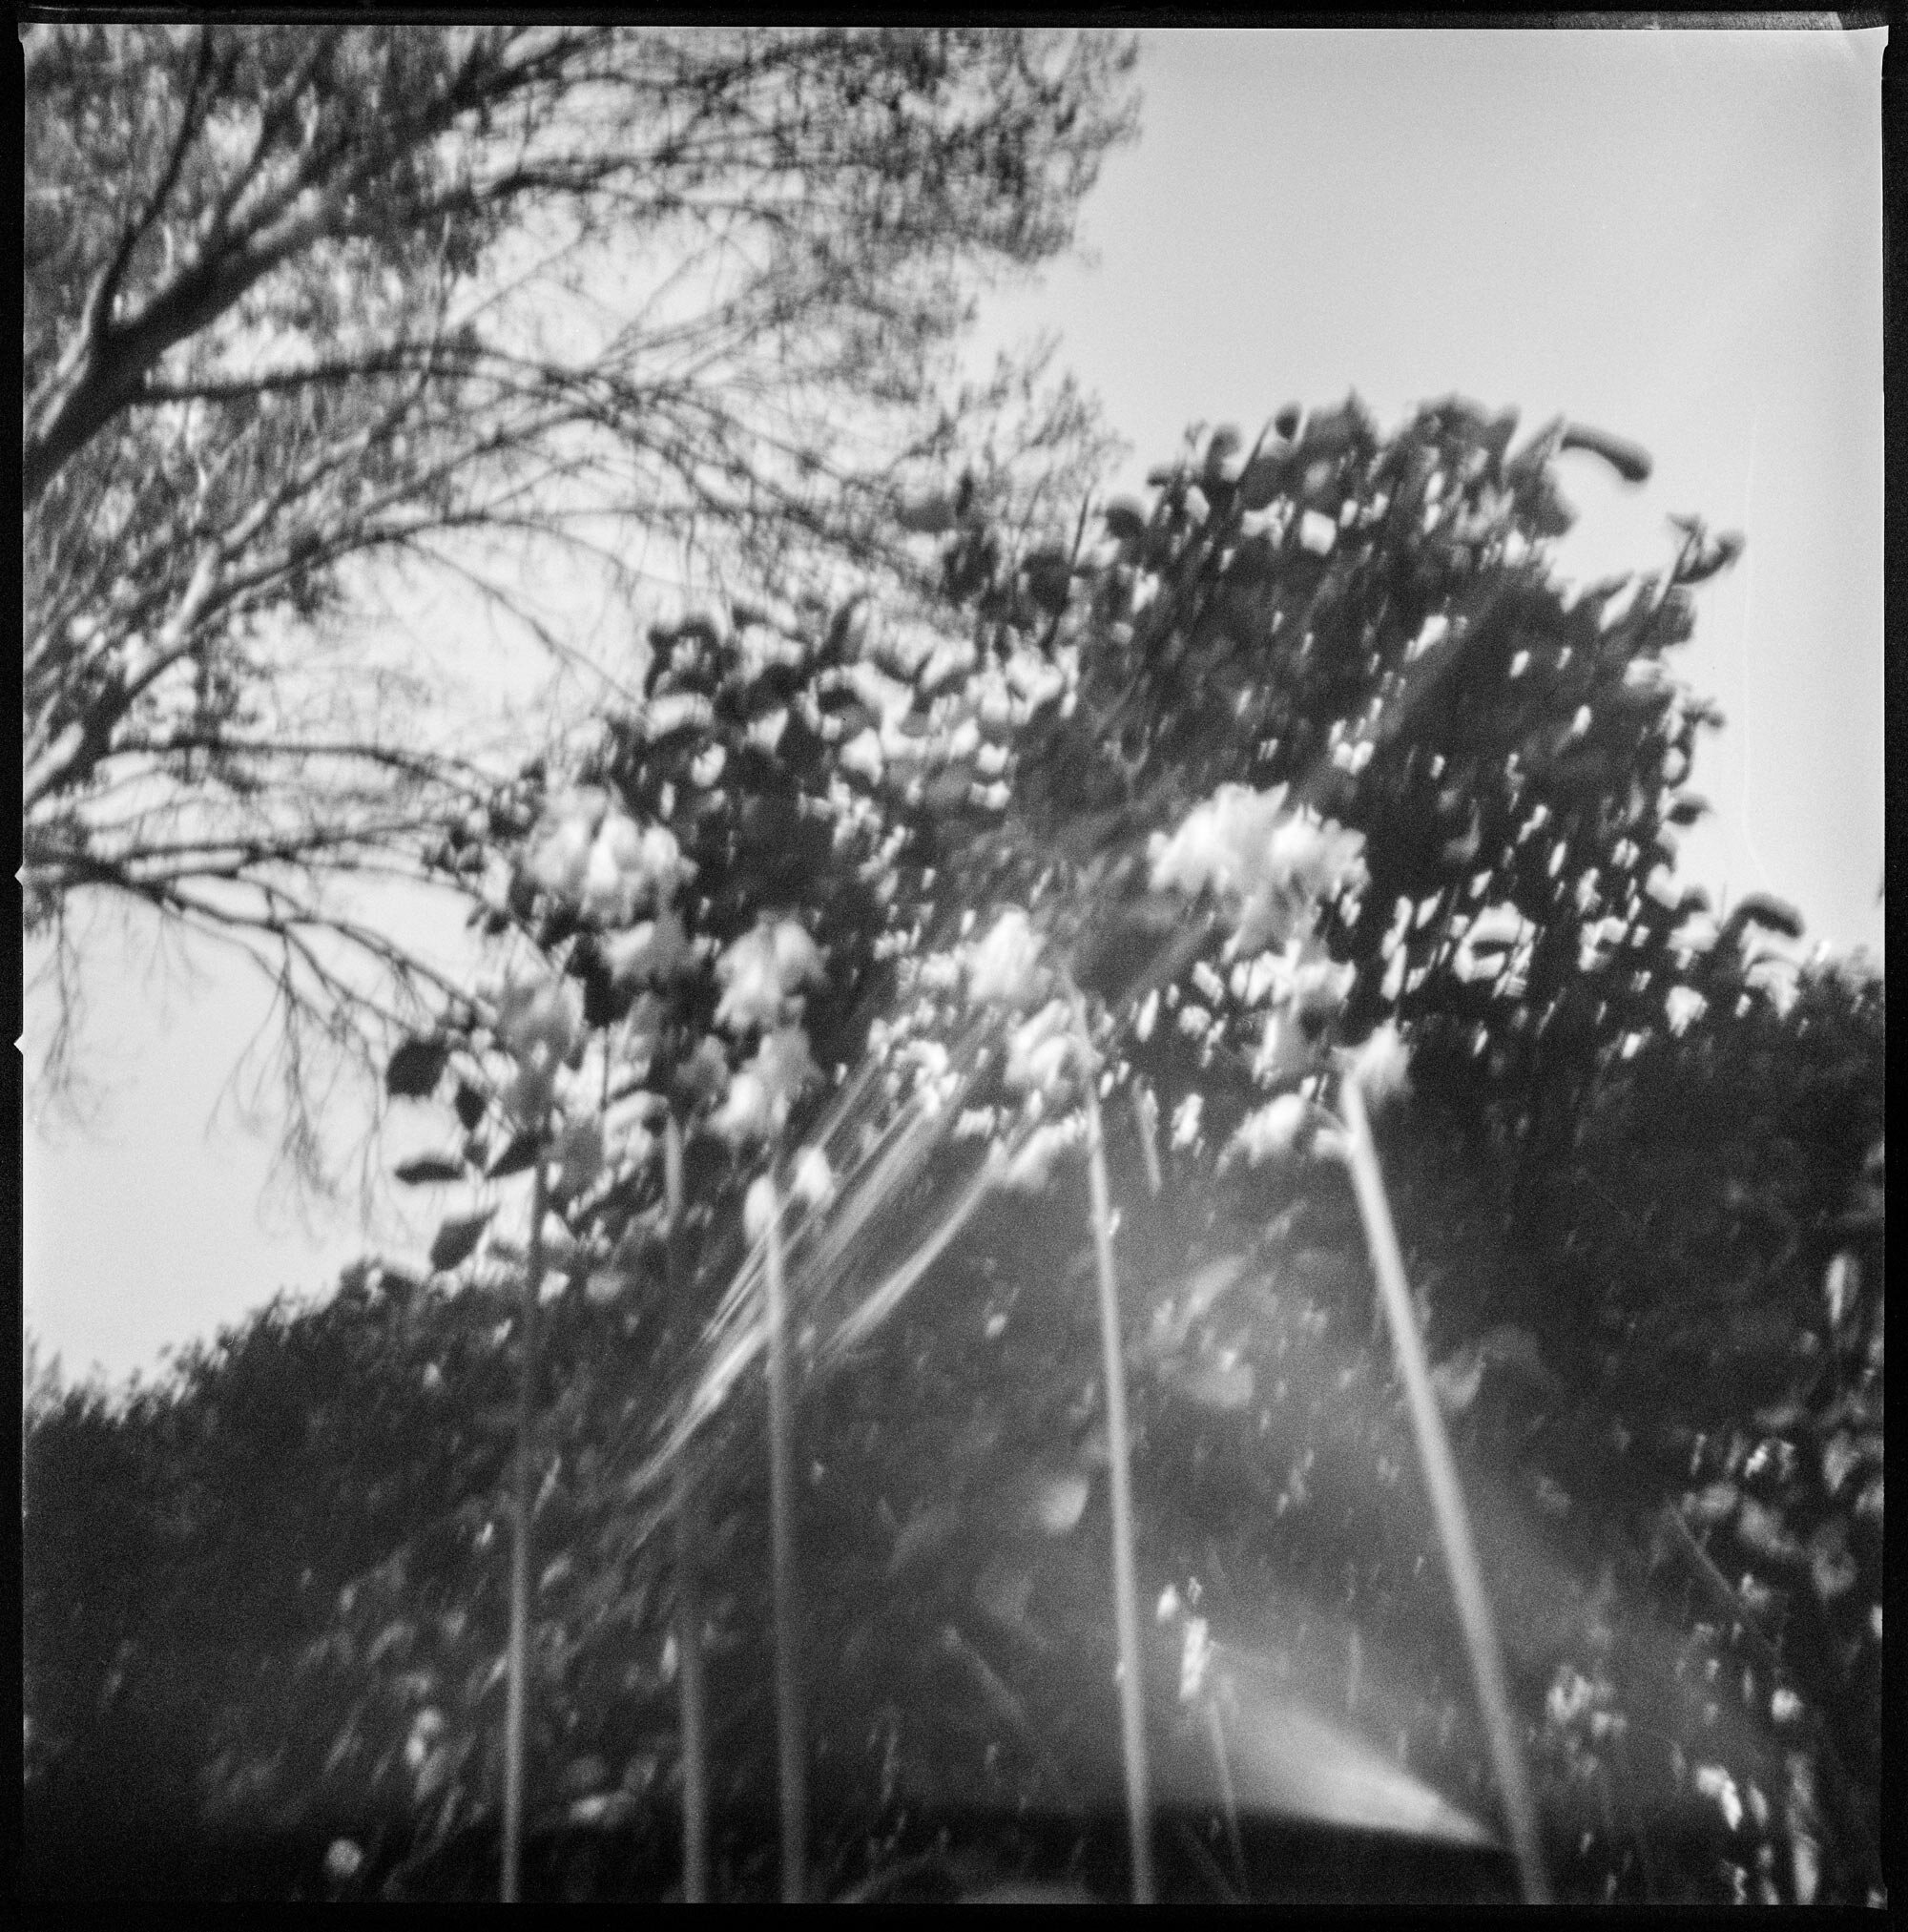
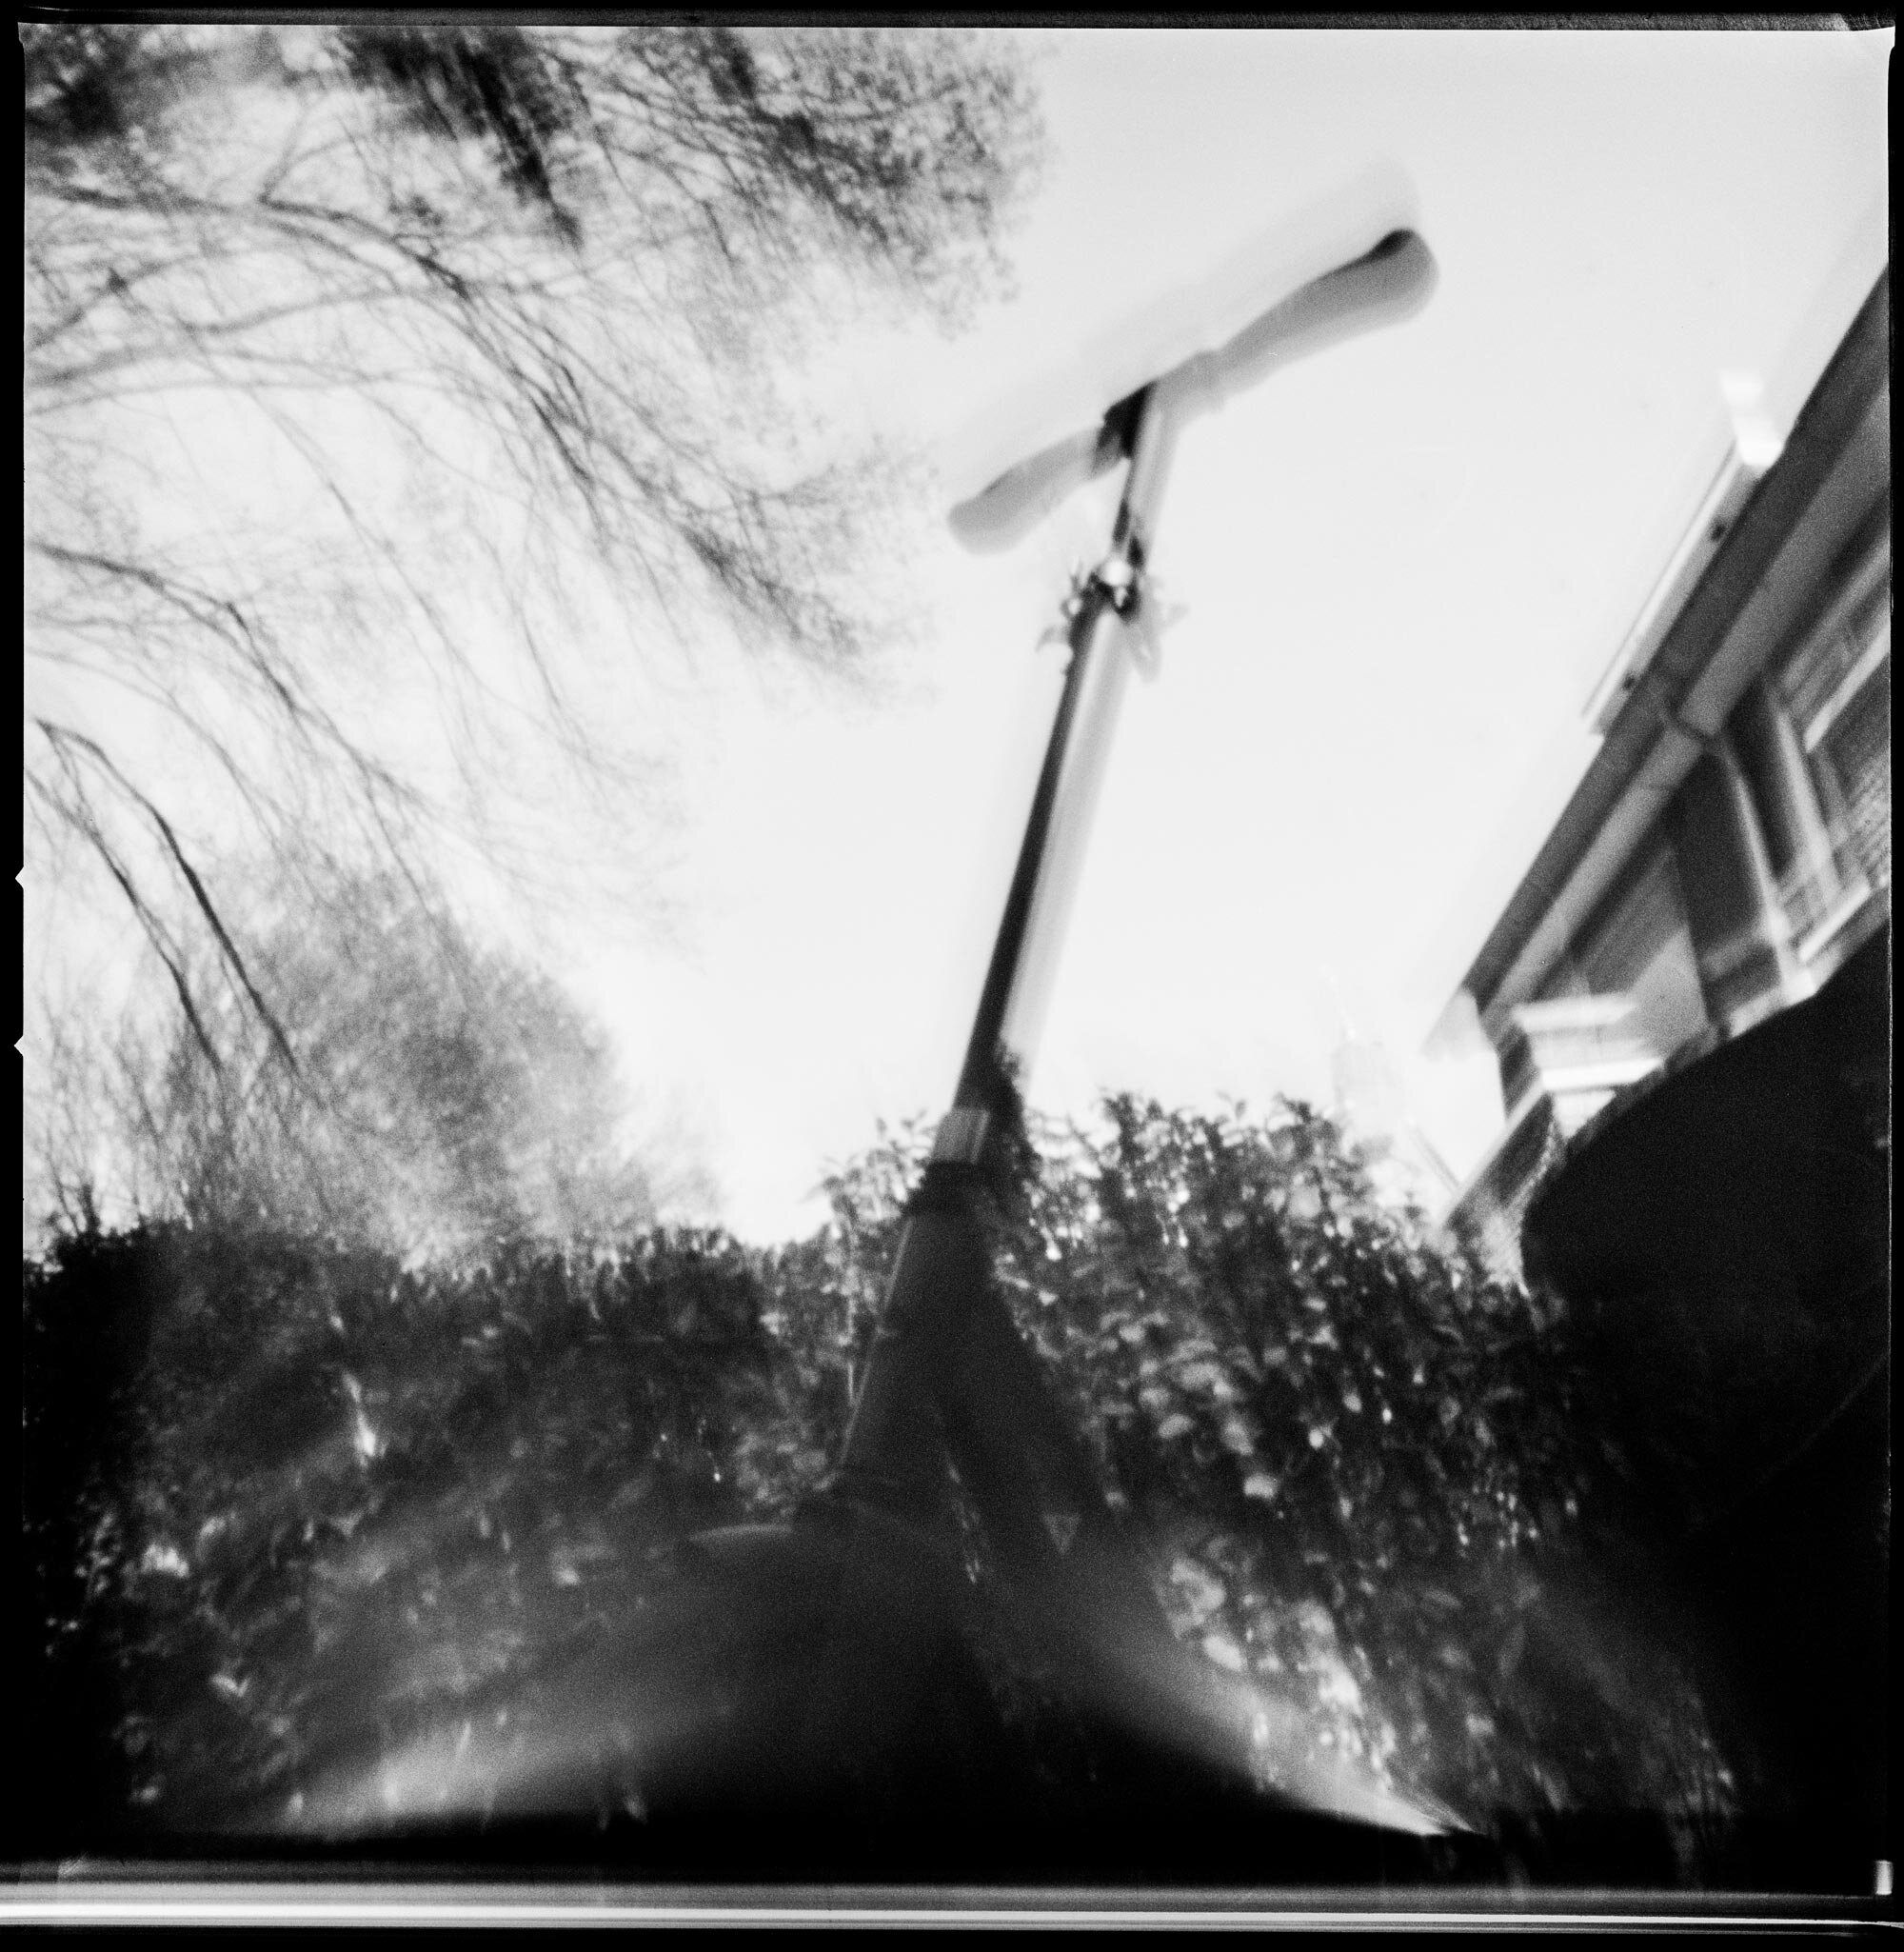
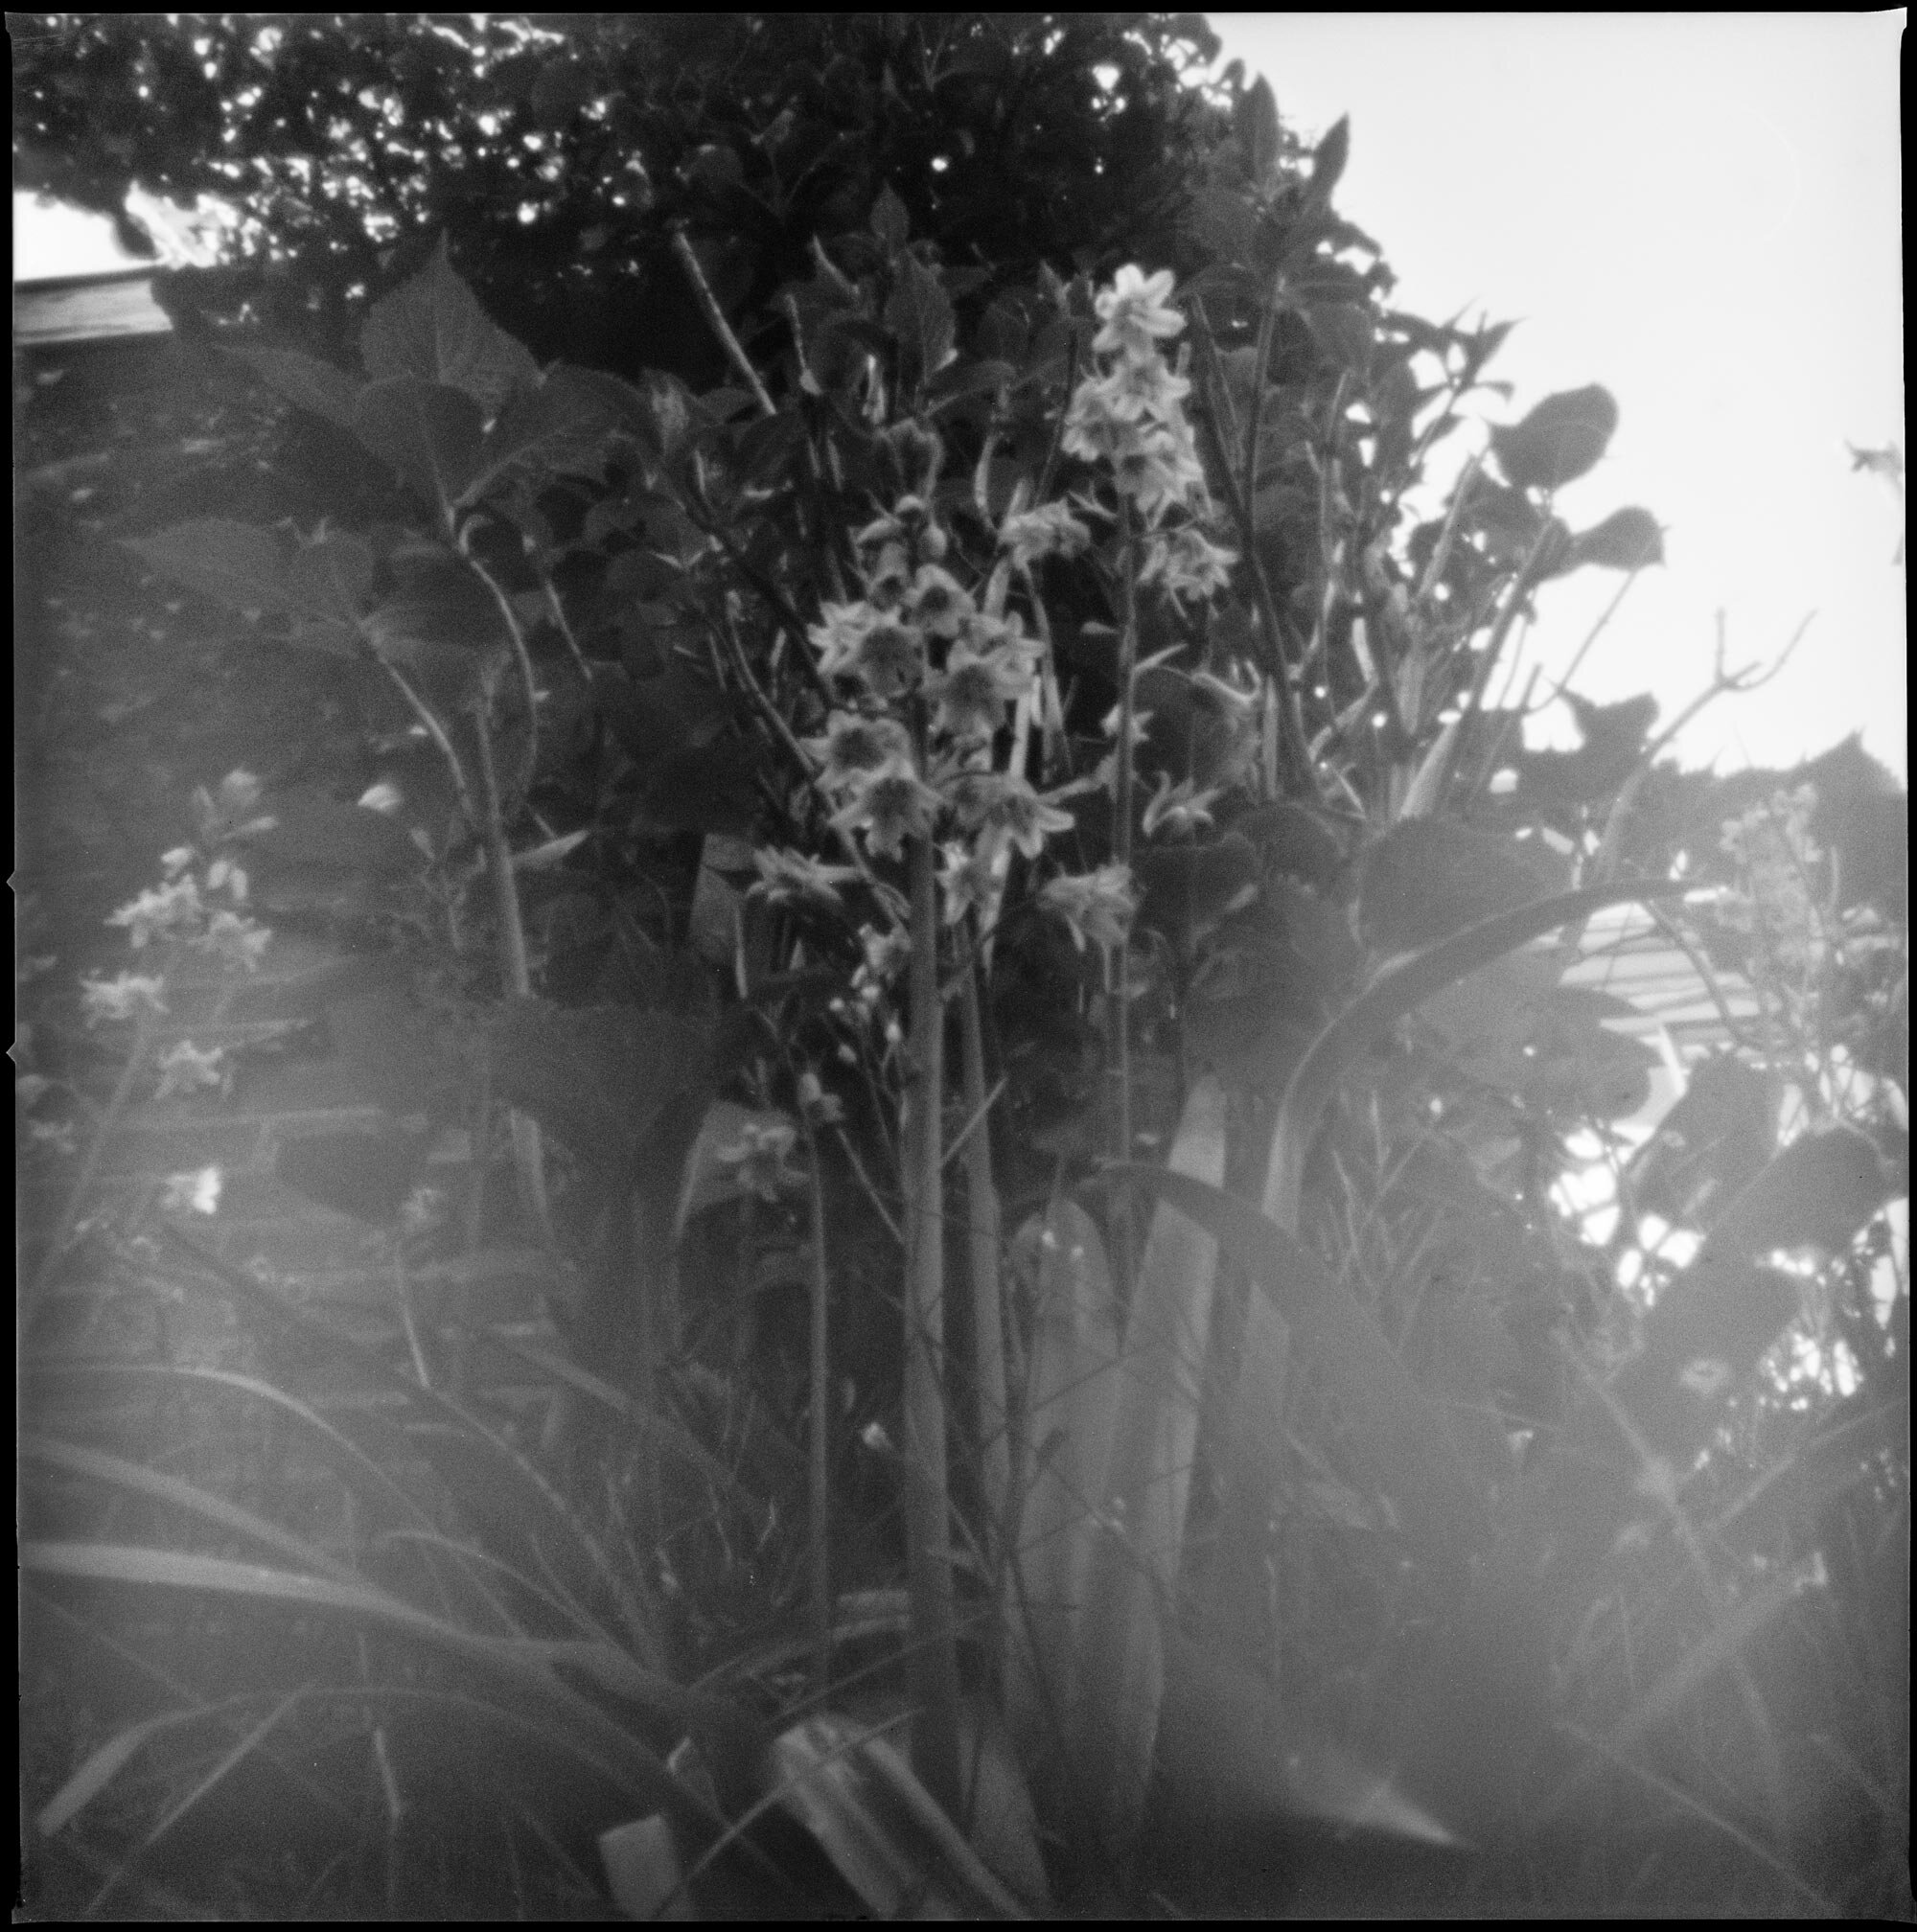
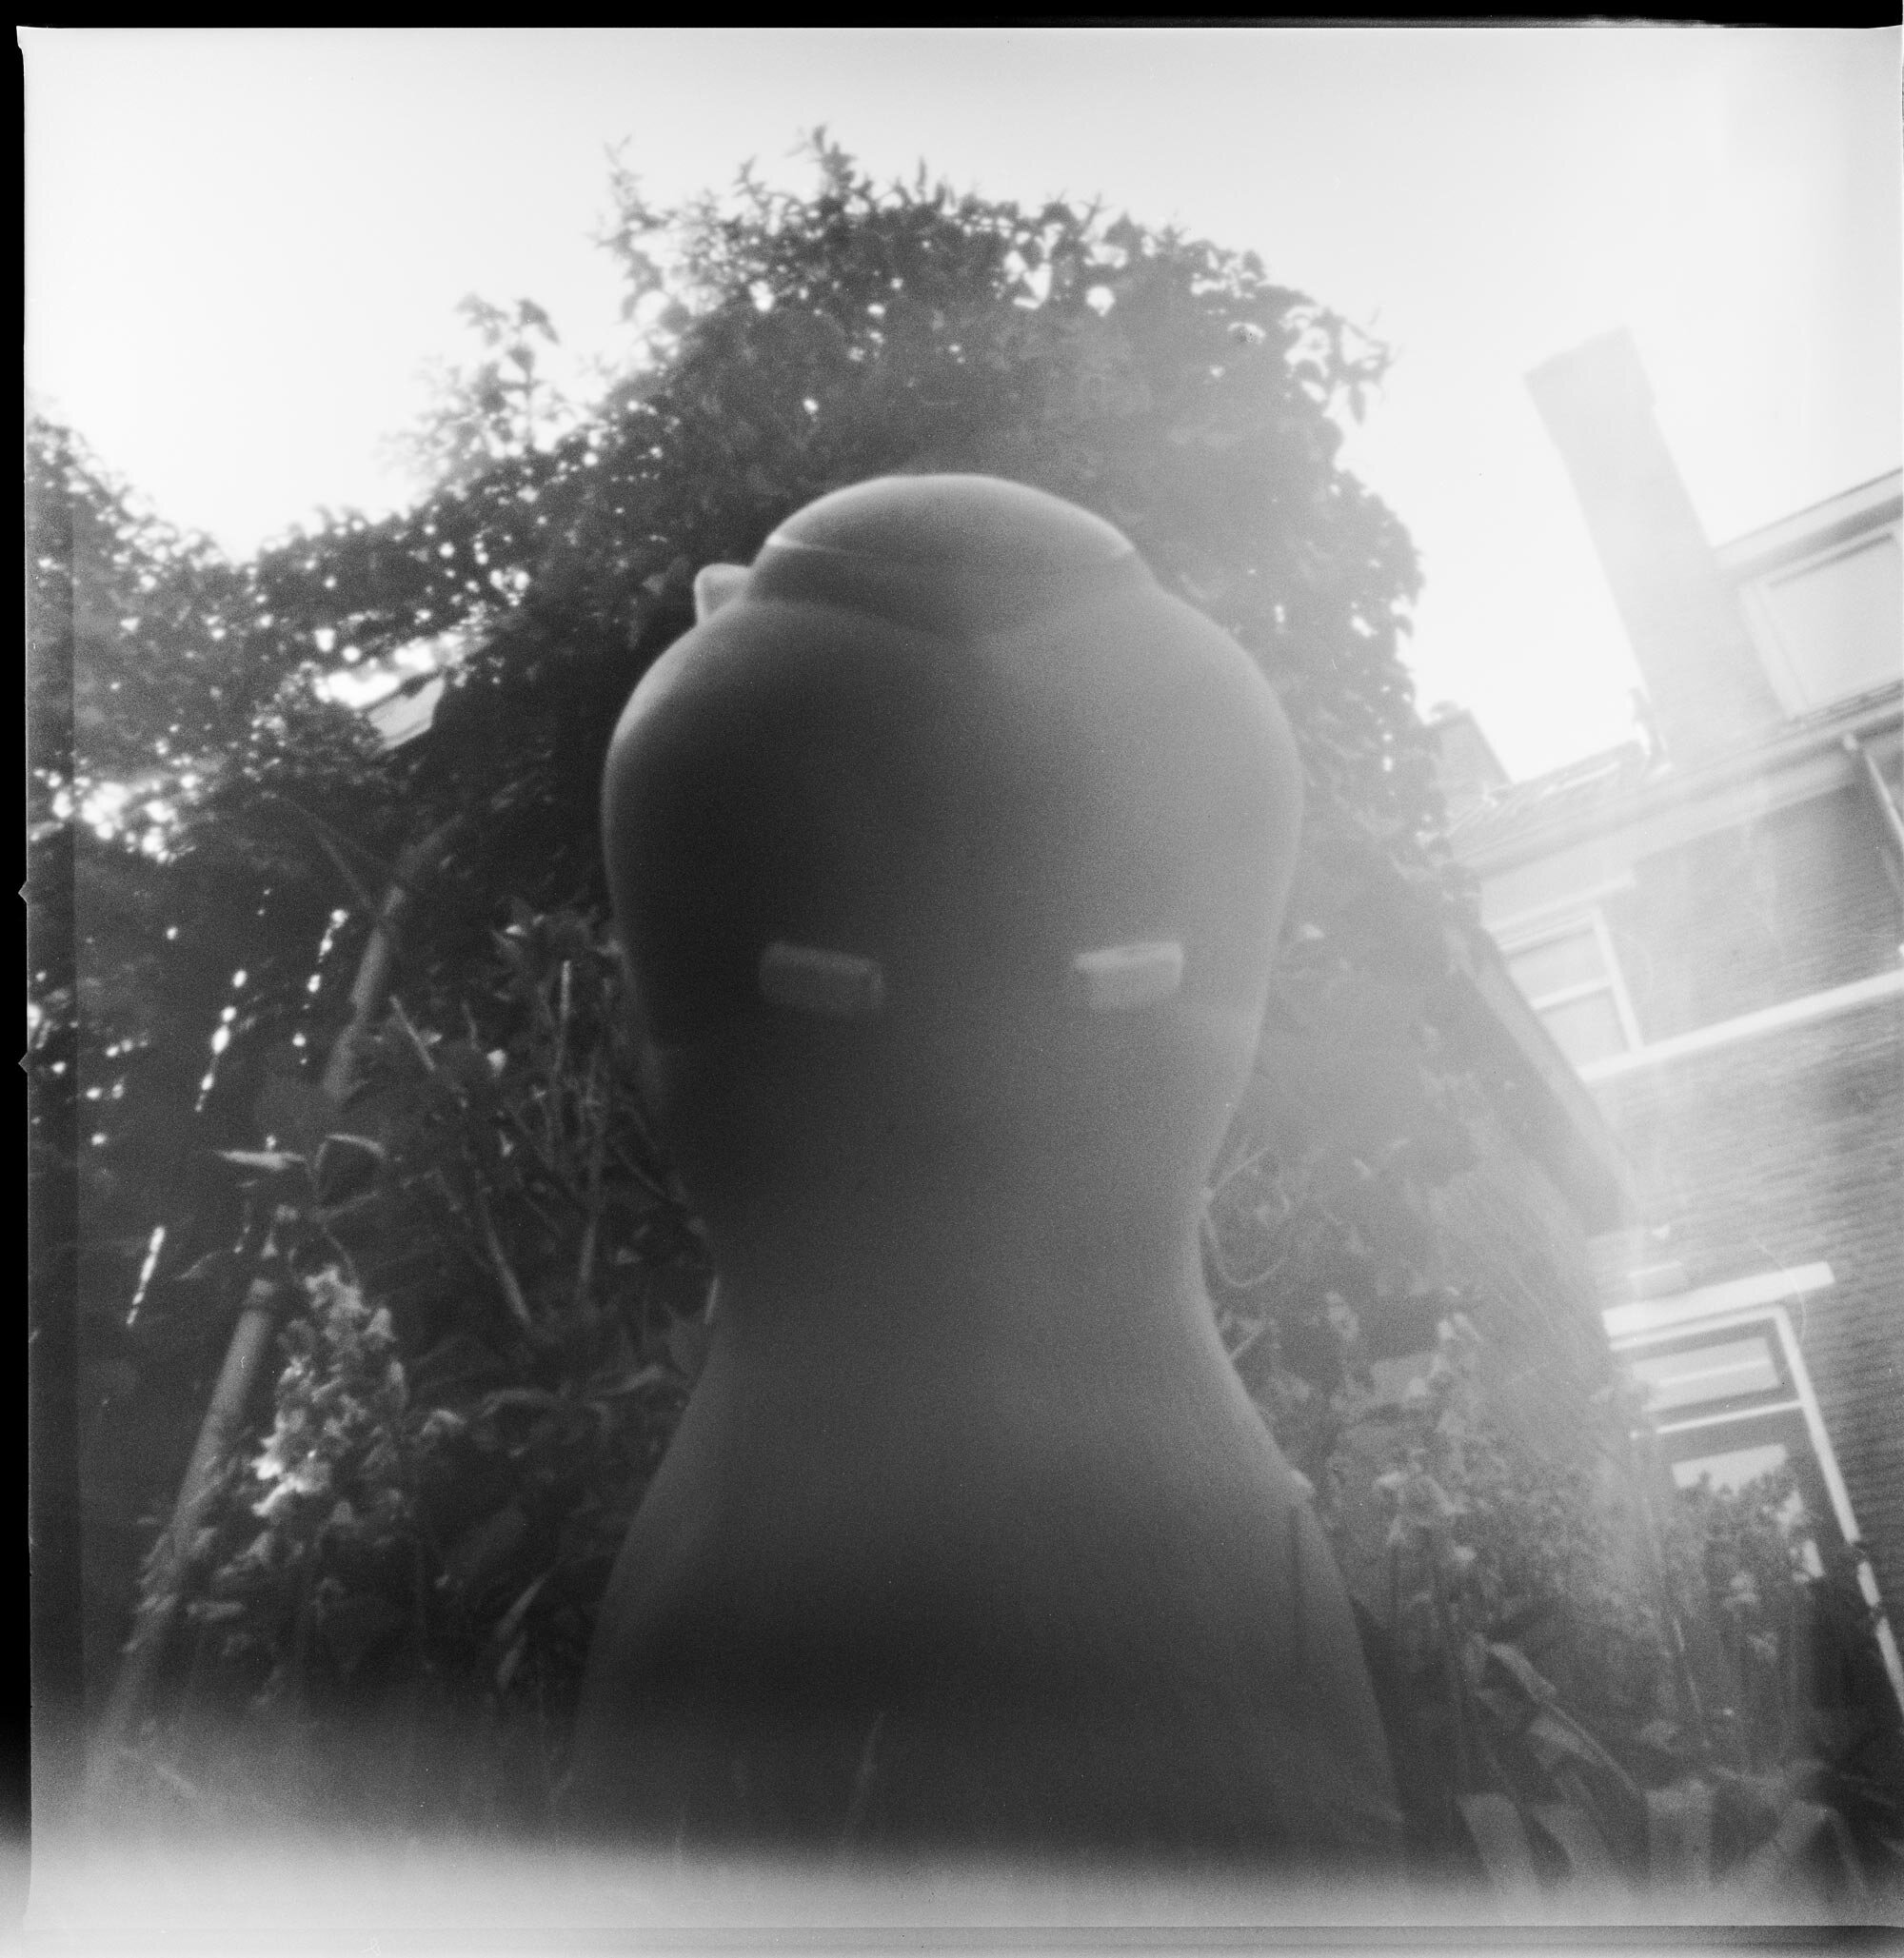
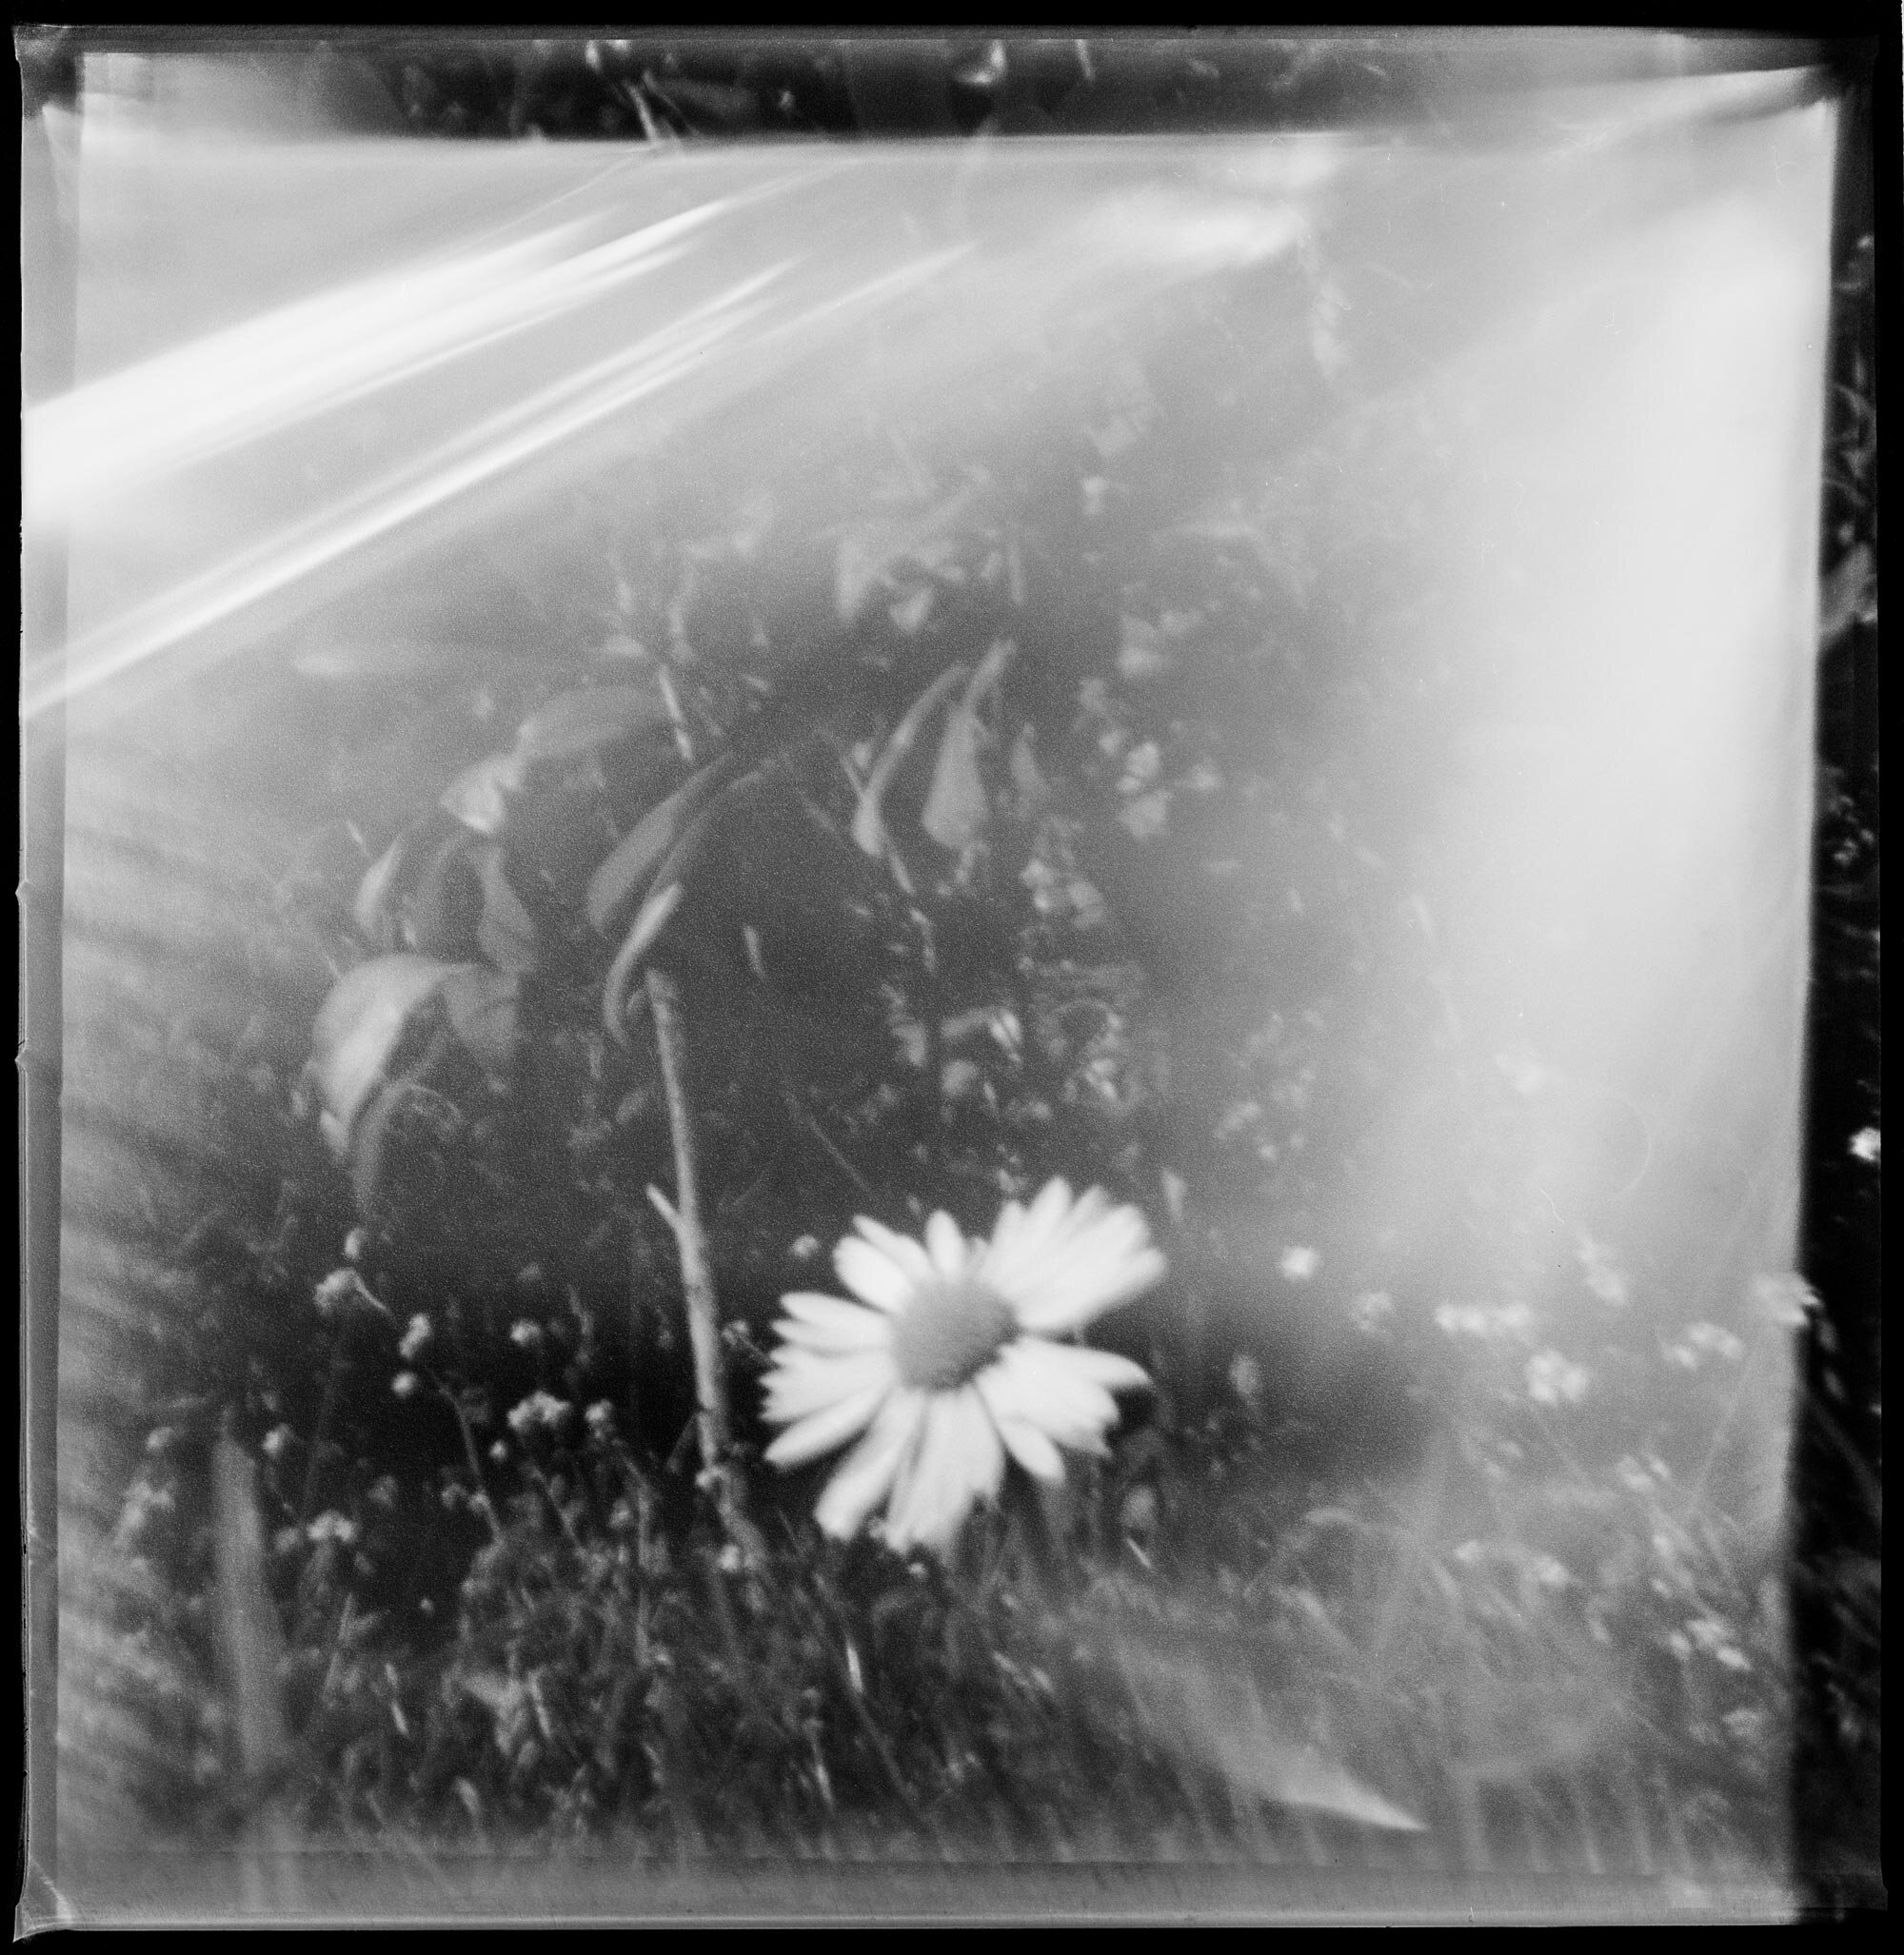
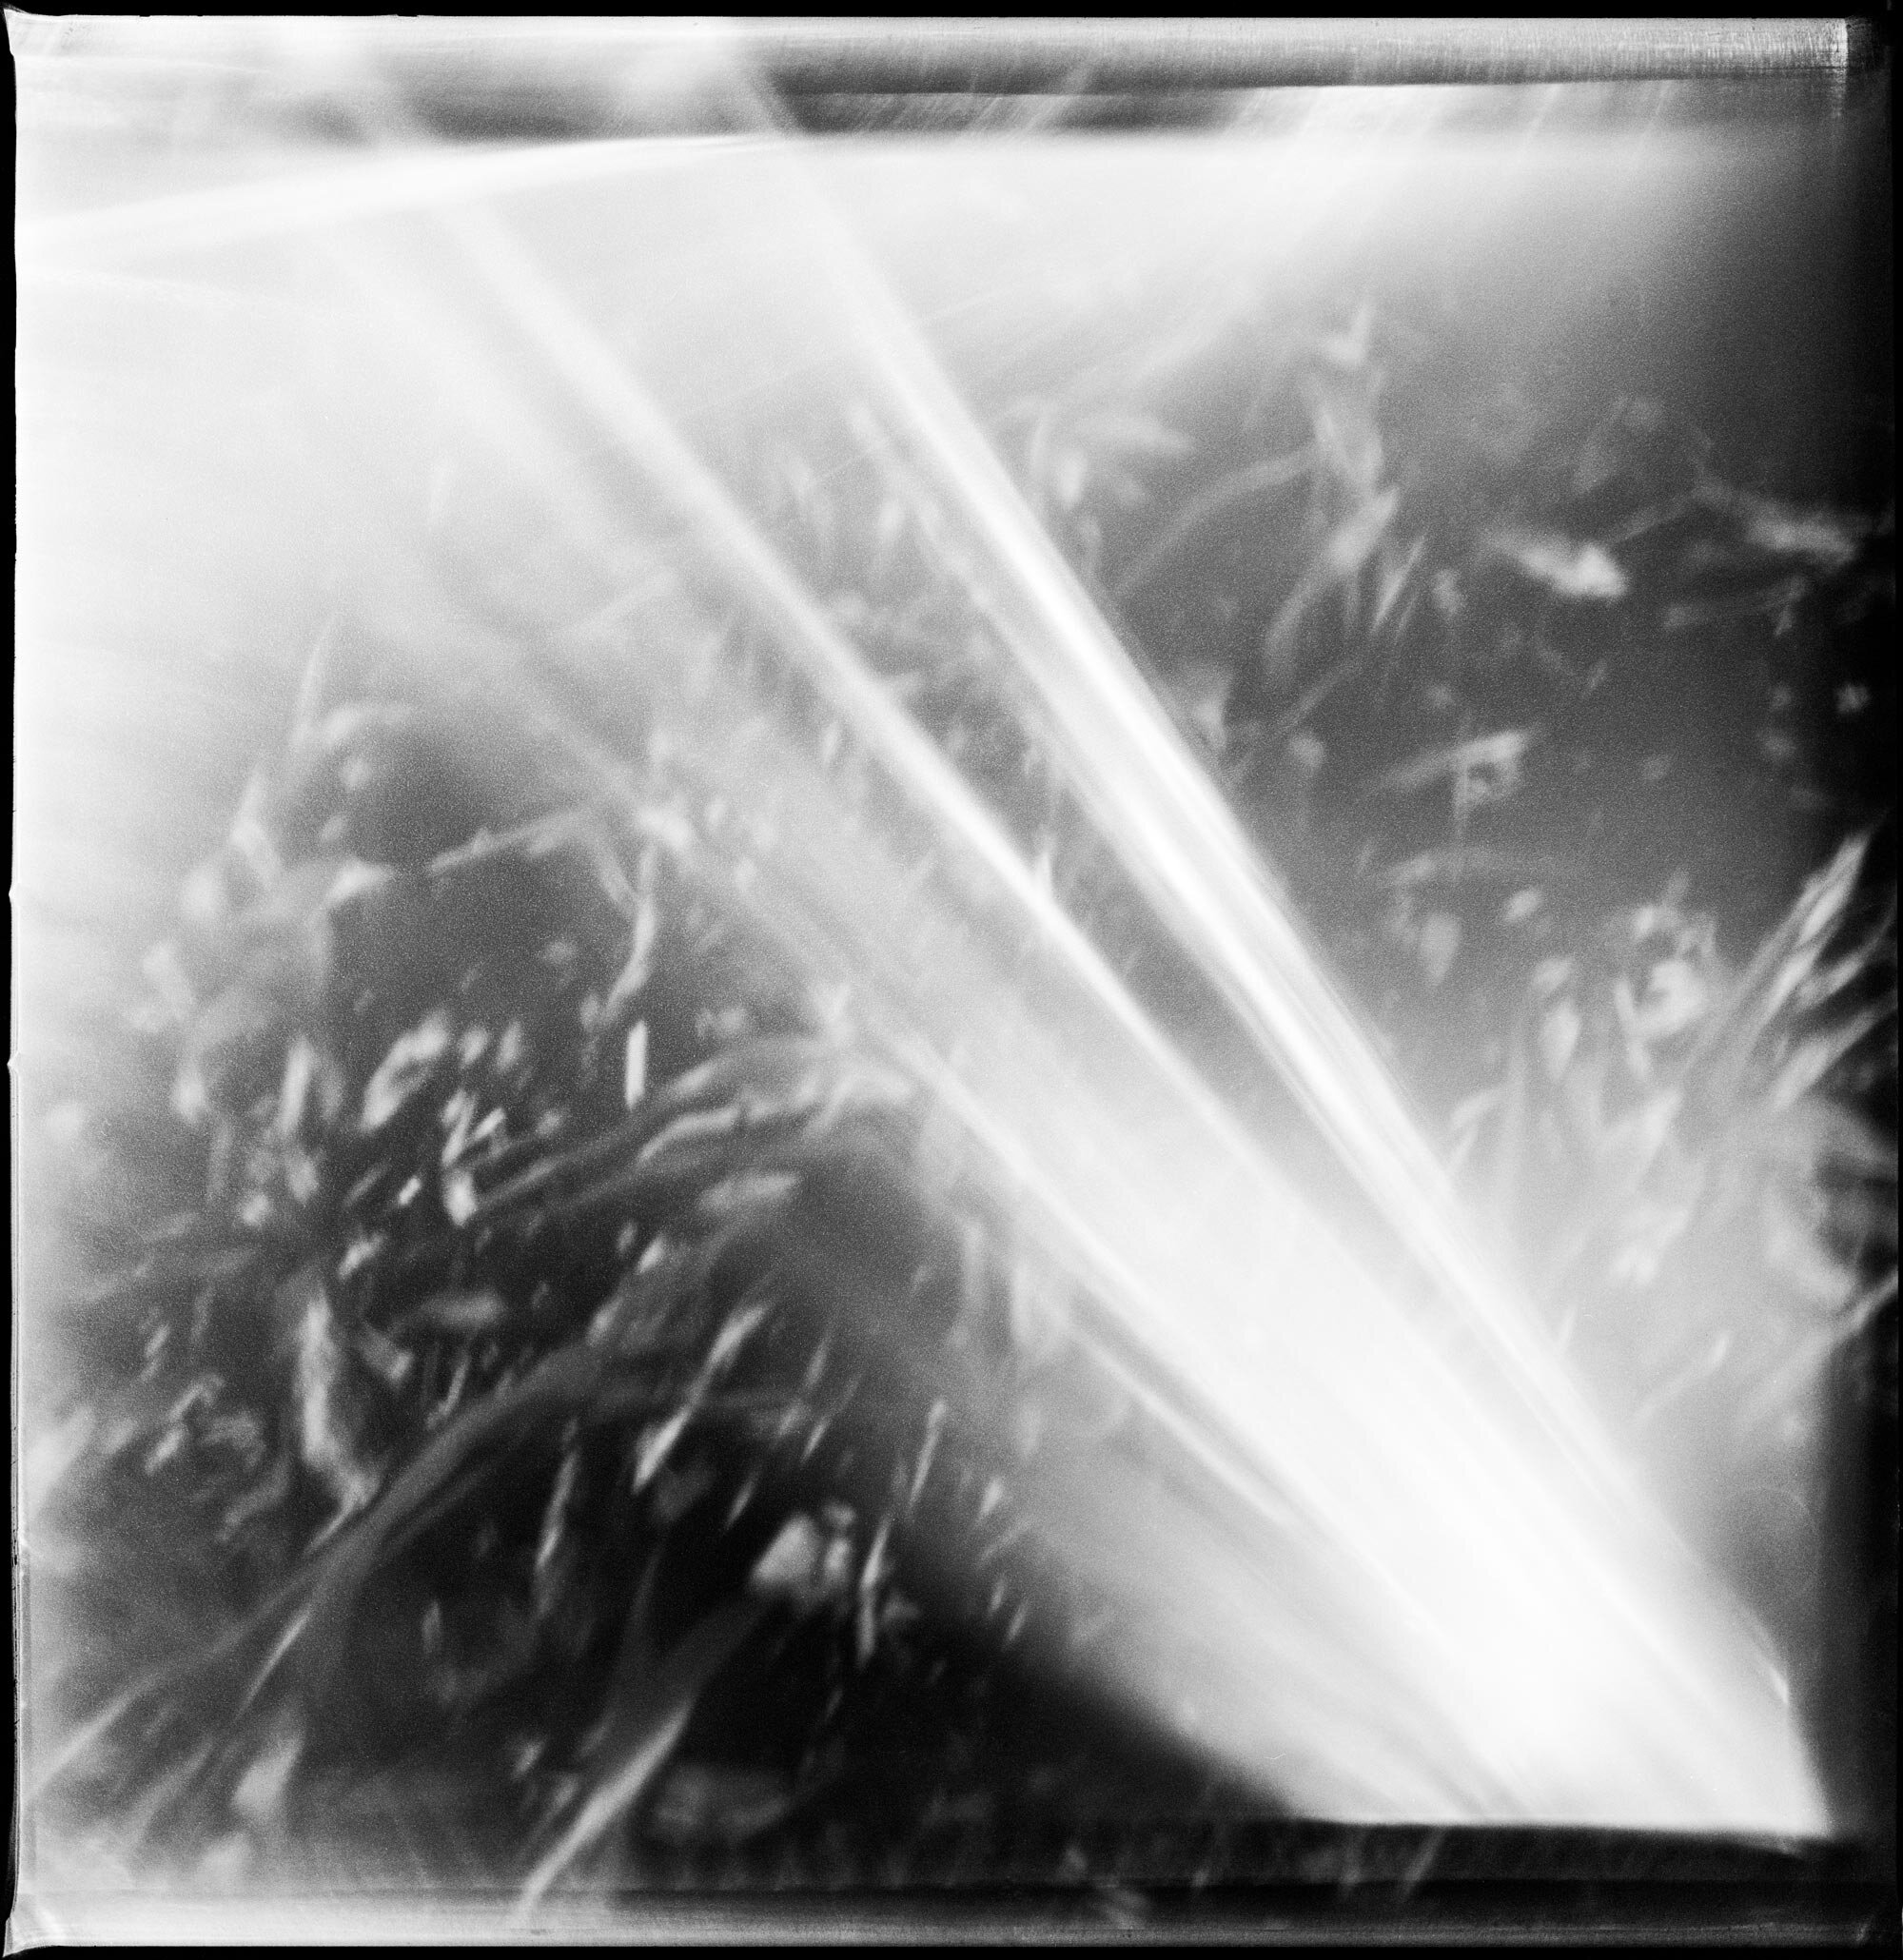
Results
This camera is an epitome of imprecision, which is part of the fun (the other part, naturally, being to have built it myself). The risk of light leaks shouldn’t be underestimated, the shutter is completely unreliable, being operated entirely manually by a human being and the correlation between f/stop and exposure is quite arbitrary since the aperture is unknown. Bodes well for great photography, in other words.
Here are the keepers of the first roll I shot.
Thoughts on improvements of the design
The reason I picked aluminium foil was to have as thin a material as possible. I had read that if the thickness of the material approaches of the diameter of the hole, there is a risk of diffraction. Given the quality of the results that probably won’t matter, some may say, and you would be right. That said it, a slightly sturdier material than aluminium foil is probably a good idea. I experimented with aluminium from an Nespresso capsule and think that might be the next thing to use.
I think the hole was too big on this camera. A smaller hole, subject to the above bit about diffraction, would likely result in sharper images.
Lastly, I should look for an old Hasselblad magazine to simplify advancing the film, or find another manufacturer’s film magazines that permit winding the film. Or I should design my own film holder.